

To me, it looked messy, not really cute, just blah.
So! I looked around at other pictures of craft rooms and saw these adorable embroidery hoop wall hangings. It seemed so cute and simple and cheap! So for the cost of $4.16 for 4 embroidery hoops and some of my favorite fabrics, I got to work!

1. You will need embroidery hoops, super cute fabrics, and scissors.

2. First, lay the hoop on top of the fabric, cut off a swatch to use.

In my case, I lucked out with this print (that I've been dying to use for something!) and was able to capture a perfect circle. (Well, almost perfect.)

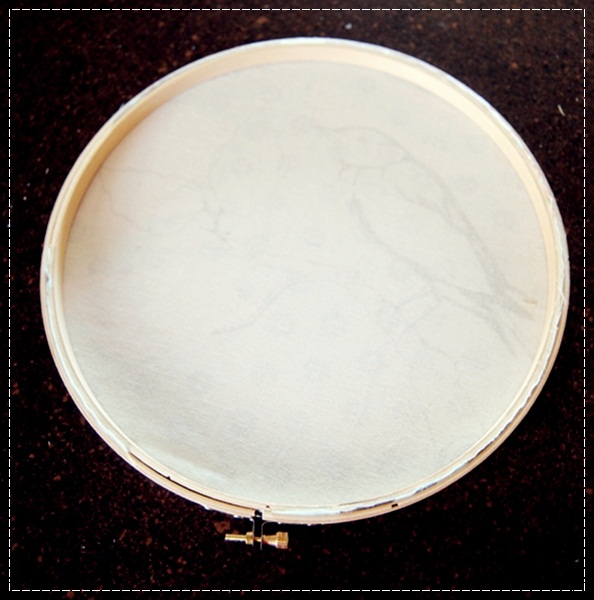
3. Lay your fabric right side up above the non-adjusting ring.

4. Gently put the adjustable ring on top of the fabric.

5. Flip it over and gently stretch the fabric between the rings.
6. Once you reached your desired stretch, trim the excess fabric.

7. Admire your adorable work.

8. Repeat steps 1-7 for the remaining rings.

9. Hang them up!
I think it really adds to the wall space, making it look more chic!
What a sweet idea.
ReplyDelete